7.2. Agent Debugging
7.2.1. Internal Agent Debugging
Edit the file asgard2-agent.yaml and set the value of write_log
to true. The file can be found in C:\Windows\System32\asgard2-agent\
or /var/lib/asgard2-agent/ for Windows and Linux/macOS, respectively.
write_log: true
After making these changes, restart the ASGARD service. You can then
find log entries and possible error messages in the file asgard2-agent.log
in the same directory as the configuration file.
Note: The value is set to false by default, because the agent
doesn't rotate or compress these logs. Leaving that value on true
could cause that file to grow very big and use a significant amount
of disk space. We recommend resetting it after the debugging session.
7.2.2. Go Debug Logging
On Windows, open the cmd.exe as Administrator. Set some environment variables.
C:\Windows\system32>set GRPC_GO_LOG_SEVERITY_LEVEL=info
C:\Windows\system32>set GODEBUG=http2debug=2
Navigate into the agent's program directory and start it to see all output messages.
C:\Windows\system32>sc stop asgard2-agent
C:\Windows\system32>cd C:\Windows\system32\asgard2-agent\
C:\Windows\system32\asgard2-agent>asgard2-agent.exe
Interrupt the agent with CTRL+C. Don't forget to start the Windows service after the debugging session.
C:\Windows\system32\asgard2-agent>sc start asgard2-agent
On Linux, open a shell as root (sudo).
nextron@asgard:~$ sudo su -
[sudo] password for nextron:
root@asgard:~#
root@asgard:~# export GRPC_GO_LOG_SEVERITY_LEVEL=info
root@asgard:~# export GODEBUG=http2debug=2
Navigate into the agent's program directory and start it to see all output messages.
root@asgard:~# systemctl stop asgard2-agent
root@asgard:~# cd /var/lib/asgard2-agent/
root@asgard:/var/lib/asgard2-agent# ./asgard2-agent
Interrupt the agent with CTRL+C. Don't forget to start the Linux service after the debugging session.
root@asgard:/var/lib/asgard2-agent# systemctl start asgard2-agent
7.2.3. Aurora Diagnostics Pack
If Aurora does not behave like it should, e.g. using more resources
than you expected, you can create a diagnostics pack for our support
to help in troubleshooting the issue. This can be conveniently done
using the playbook [Default] Create and Collect Aurora Agent Diagnostics Pack (Windows).
It can be run from Asset Management > Response Action (Play button)
or from Response Control > Tasks > Add Task or if needed
as a group task. The resulting diagnostics.zip can be downloaded
from the third step in the Playbook Result tab of the expanded task.
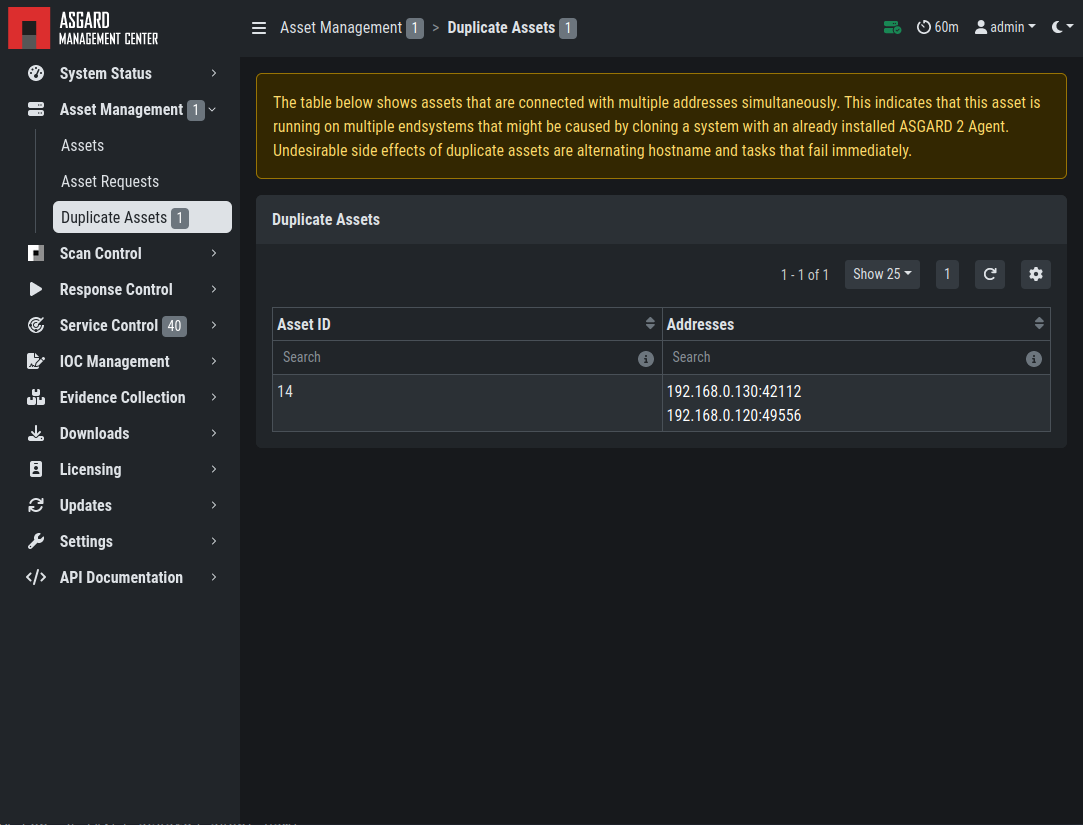
7.2.4. Duplicate Assets Remediation
If you are seeing the Duplicate Assets view in your Asset Management,
you need to fix the issue to avoid unwanted behavior of this asset. To
fix the issue, you need to uninstall the current ASGARD agent, delete the
configuration files, and redeploy a fresh copy.

Troubleshooting Duplicate Assets
To uninstall the ASGARD agent, please follow the instructions in Uninstall ASGARD Agents.
To delete the configuration files, make sure that the following folder is deleted before installing a new agent:
Windows:
C:\Windows\System32\asgard2-agent\Linux:
/var/lib/asgard2-agent/
To install the ASGARD agent, please follow the instructions in ASGARD Agent Deployment.
It is also recommended to redeploy the ASGARD Service Controller.
To uninstall the ASGARD Service Controller, please follow the instructions in Uninstall ASGARD Service Controller.
To install the ASGARD Service Controller, please follow the instructions in Service Controller Installation. You need to wait a few minutes until the asset is connected to your ASGARD before you continue with this step. Please note that you might need to accept the
Asset Request.